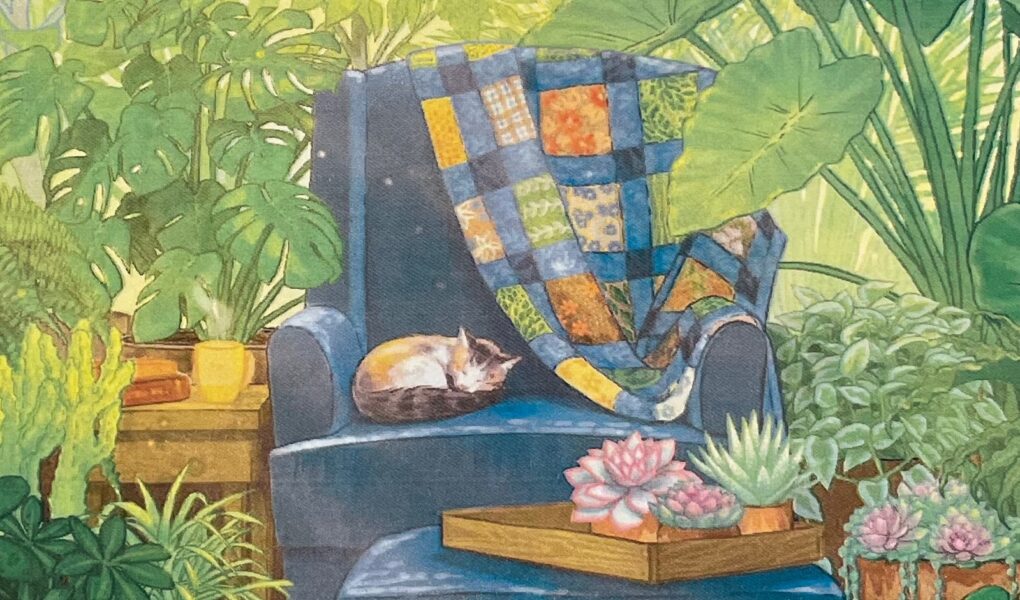
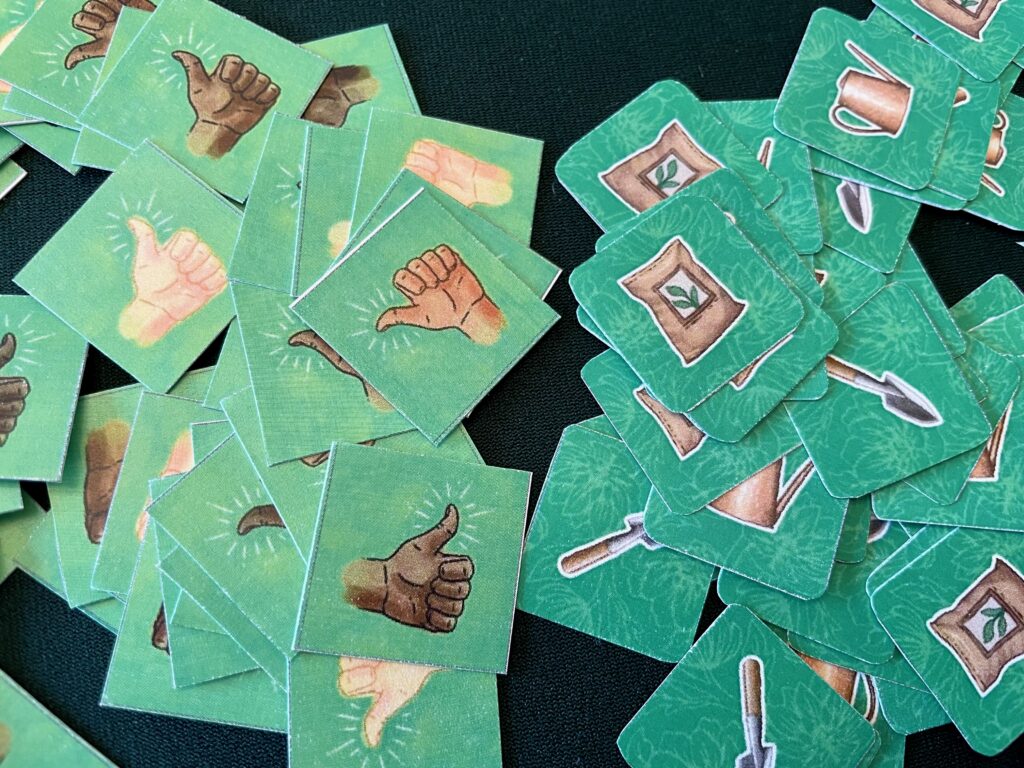
Progress on our Verdant PNP board game continues! I have finally completed all the tokens used in Verdant. This includes tokens for 45 unique items, 45 nature tokens, and 36 green thumbs!
How I made our Verdant PNP tokens
**I’m linking to some items I find useful, but they aren’t affiliate links. I receive nothing if you click them!
To make the tokens, we printed out the files on heavy cardstock using a color laser jet. The laser jet is great for making PNP board games because the ink won’t smear like it would if you used a desk jet.
Once everything was printed, I used a basic paper cutter to cut apart all of the many pieces for the tokens. I had to print two of every piece so the tokens would have a front and backside!
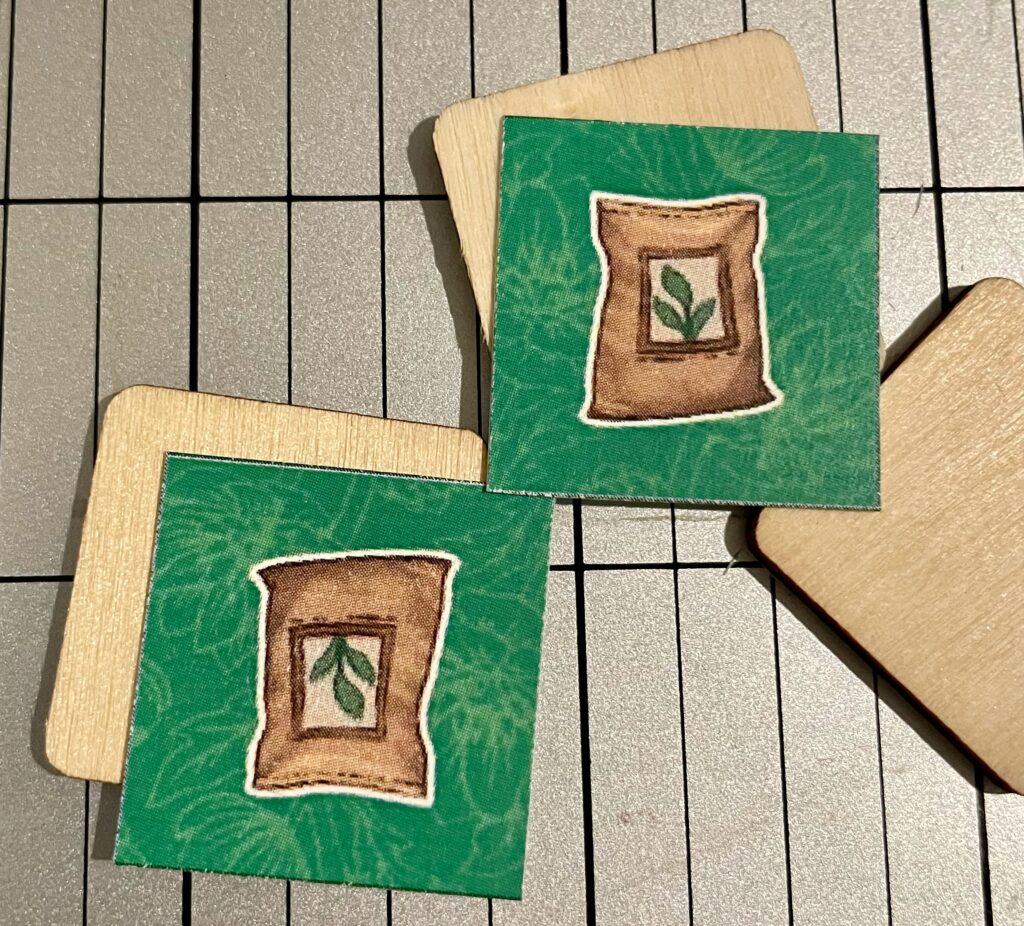
I knew I wanted the tokens to be substantial (not just the piece of paper), so attaching them to something was important. When I made our Chai PNP board game, I used craft foam for the tokens. This was difficult because the craft foam didn’t come in neat, perfectly-sized squares. In order to make our Verdant PNP game easier to create, and honestly better, I purchased a bulk bag of 1″ wooden tiles on Amazon. These worked out amazingly well!
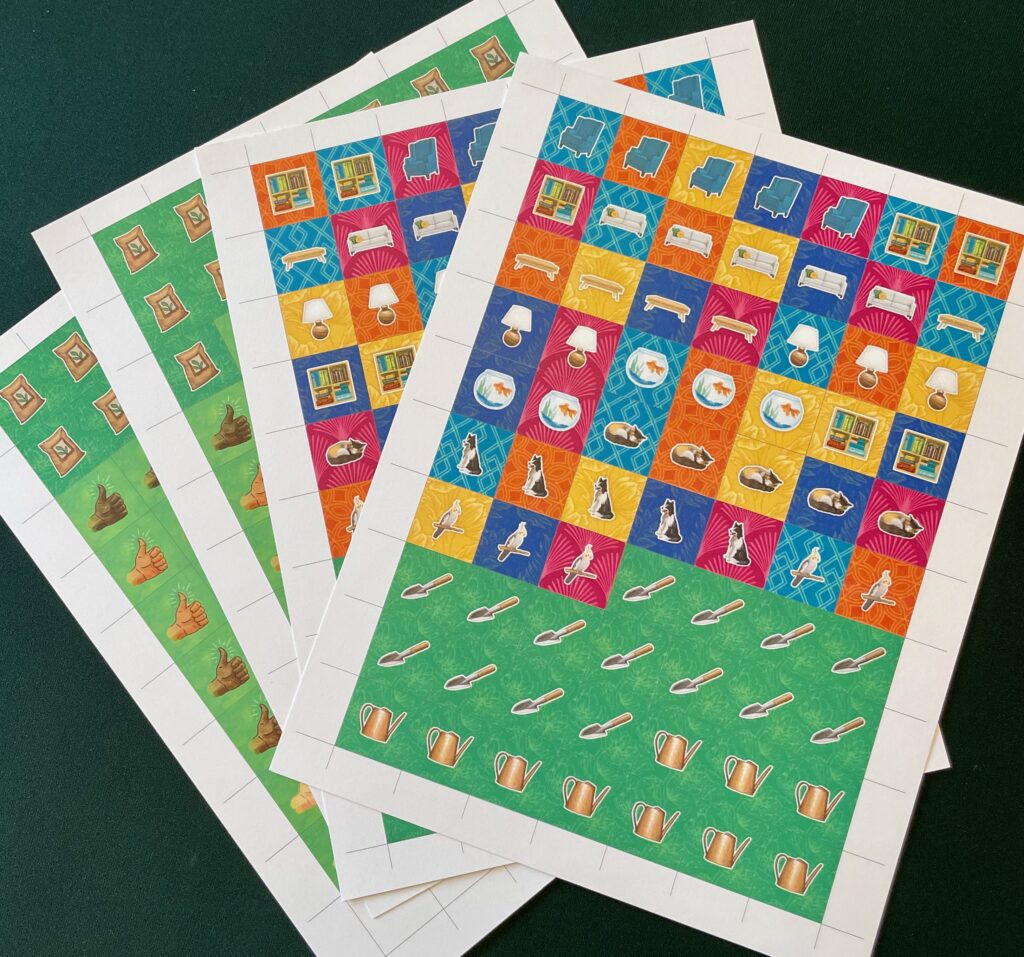
To curve, or not to curve
When I finished cutting out the tokens, I held one up to size it against the wooden tile. To my horror, I realized the wooden tiles had curved edges. I could have just glued the paper right onto the tiles and left the angled corners as they were, but that would have been ugly! I have a paper puncher that rounds corners, which is what I used when we made our Verdant PNP cards. Sadly, the punch was too big to trim the corners on our tokens. Instead, I rounded the corners with a pair of scissors. My pointer finger was numb by the time I was finished. I have no regrets. The rounded corners look so much better!
Seal it up with Mod Podge
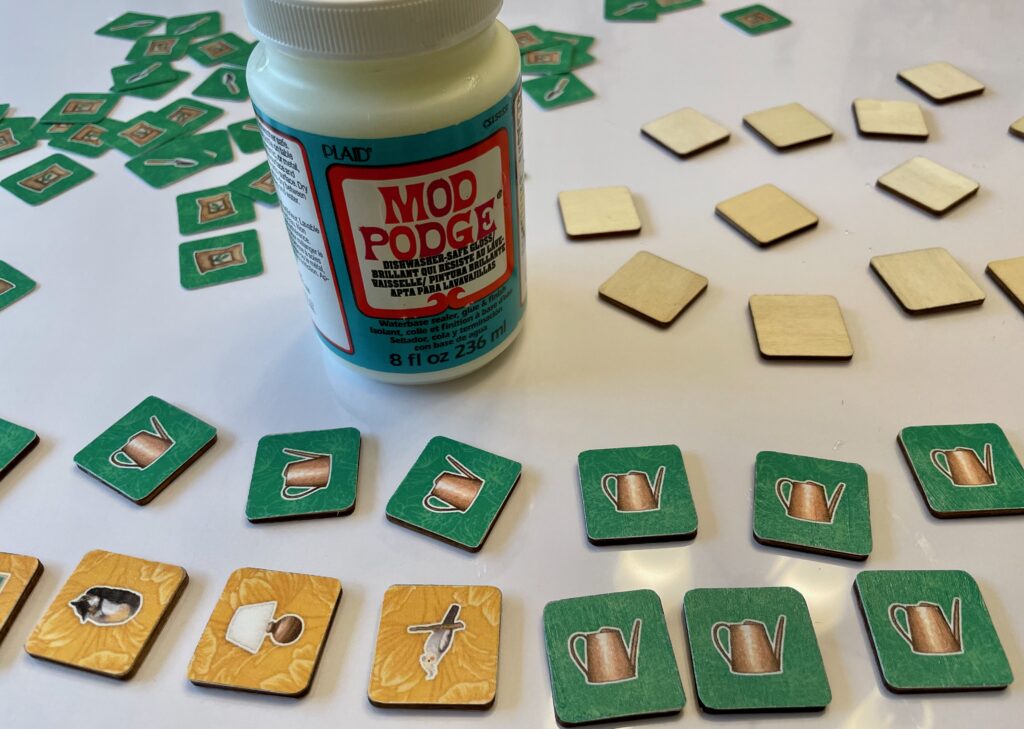
I have no idea what I’d do if I didn’t know about Mod Podge. This stuff is so useful. It’s glue. It’s a sealer. It’s wonderful. I have a waterproof version of Mod Podge, which is what I use for all our PNP board games. I dipped my paint brush in the goo, painted the wooden tile, applied the paper token, and then painted another layer of Mod Podge on the top. Then you just have to let it all dry and you have beautiful, sturdy tokens for your game!
Things to consider
Mod Podge is a tricky product. It’s exactly what I needed to glue and seal the paper tokens onto the wood pieces. The problem is that mod podge can take a while to cure, which means the tokens have the slightest bit of tackiness to them initially. It’s important not to stack them in a pile until they are fully dried, or they will stick together!

