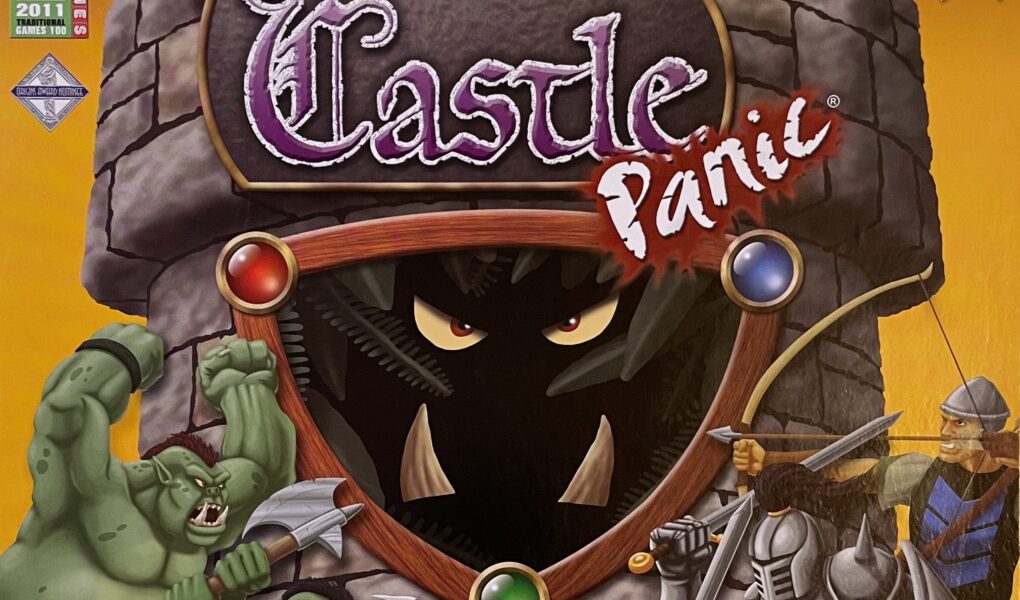
Have you played Castle Panic yet? This board game was published back in 2009 so it’s definitely not the new kid on the block. Despite its age, Castle Panic continues to be a wonderful co-operative family board game that my kids love to play. It’s only natural that my creative energy would need to perform a board game upgrade on this classic title to keep it feeling fresh!
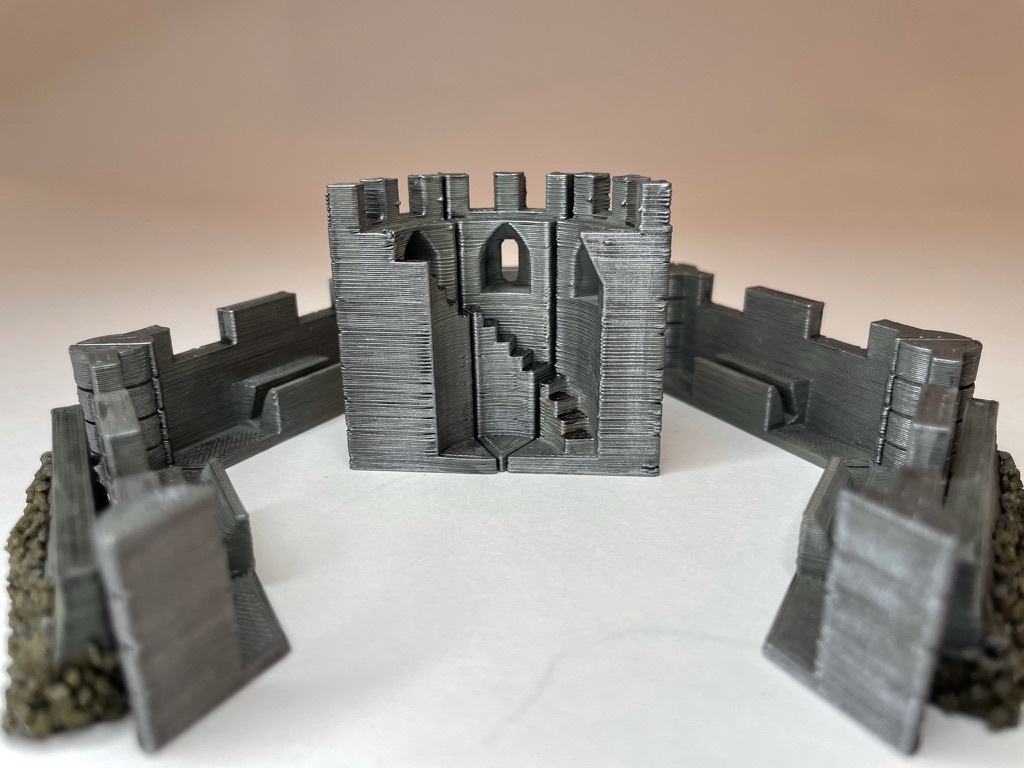
Thankfully Etsy is a wonderful resource for board game upgrade components. I managed to find Piecesofgame who’s selling a set of 3-D printed items that include new castle pieces, castle walls, and 2 fortifications. This was an easy, and relatively affordable way, to make Castle Panic a bit more visually appealing to the family. Let’s really give those Orcs and Trolls something cool to tear down, right?
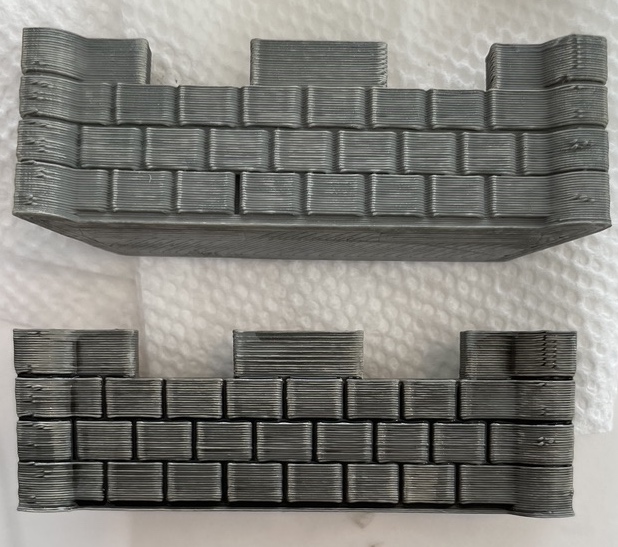
Step 1: Time to Prime
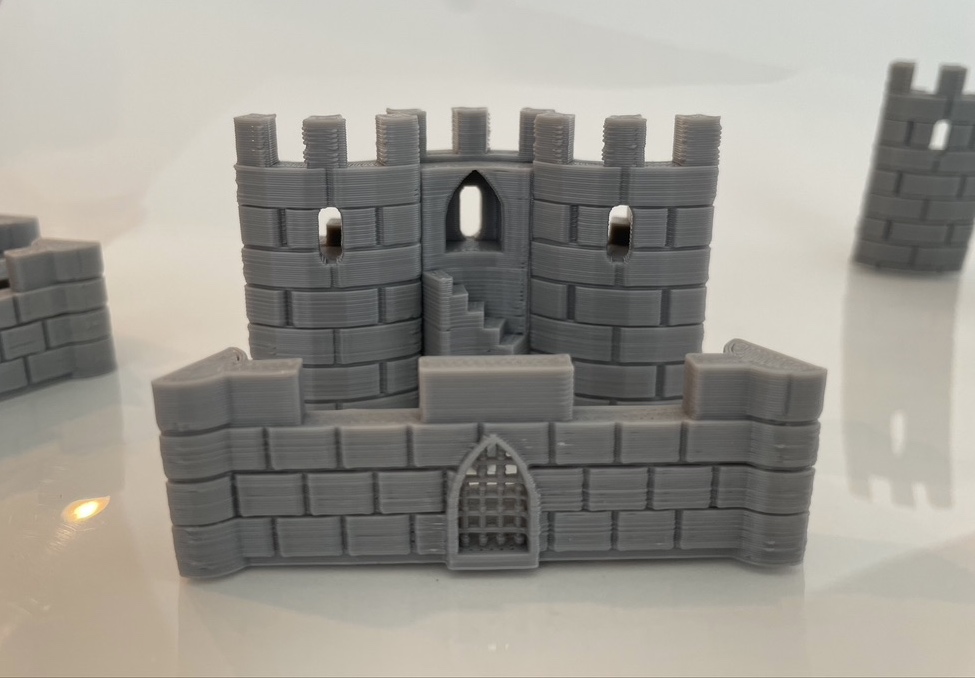
The first thing I like to do with any type of plastic component or figurine is to prime it. Plastic is tricky and paint likes to peel right off. I typically use a primer made by Vallejo, and I like the grey color. Simply apply it with a regular paintbrush making sure to use just a light coat. Board game miniatures and components are typically so delicate that if you apply a thick coat of paint you will lose some of their fine details.
Step 2: Paint the Pieces
Once your castle walls have dried thoroughly, apply the paint color of your choice to cover. Again, my main goal here is to preserve the details of the components. Go easy on the paint! I have a set of intro acrylic paints, also made by Vallejo, that I use for painting board game components. You can also use any type of acrylic craft paint. If your paint is too thick, add a drop of water and mix well. Repeat if necessary!
Unfortunately, the color I choose as a base was a bit too dark. To lighten up the pieces I used bone-colored paint to dry brush the surface of each piece. Dry brushing is a process where you remove most of the paint on your brush and then quickly fan the bristles over your surface.
Step 3: Wash
In order to really make these castle pieces pop, I did a quick wash over each of the pieces. This wash will settle into the cracks and crevices and give the pieces more dimension. It’s such an easy way to elevate any board game upgrade component that you paint!
Tips on the wash: I have a set of Citadel washes and I like them. They’re super easy to use and provide consistency. You can also make your own wash by adding water to your paint color of choice until it’s thinned.
Step 4: Dry Brush to Highlight Details
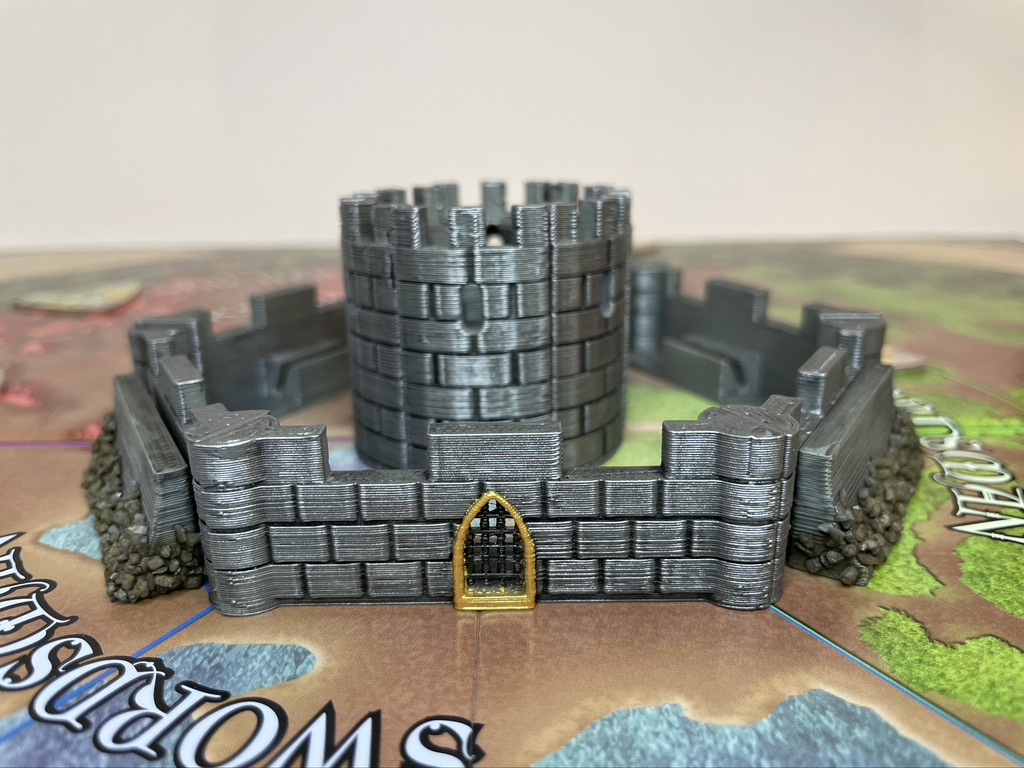
This is when dry brushing typically occurs – after the wash on each piece has dried. I set out to make these castle pieces look realistic, bu I really wanted to use a metallic paint for the dry brush. Of all the paints in the starter set from Vallejo, the metallic paints are my favorite. I used Gunmetal and I love how the castle pieces all turned out.
Step 5: The Finishing Touches
The final step for these Castle Panic upgrades is the finishing touches. Let’s make those windows really stand out with a bit of gold paint around the trim. I painted the window bars black. I also painted the tops of each of the stairs on the back of each castle wall black to make them stand out a bit. After they were painted black, I dry-brushed them with more gunmetal paint to make them blend in a bit.
The two fortifications are quite plain so they need some extra attention. First step is to paint their bottom halves with Mod Podge. Then, sprinkle some small bits of grey gravel over the glue to make it appear as though the fortifications have been really dug into the ground. Next, I used a brown wash over the gravel to make it look dirtier. Because these little bits of gravel are delicate, I painted over this area with another layer of Mod Podge to protect it.