I love chai tea. I love board games. Wait. There’s a board game called Chai? For real? By the time I realized this, I unfortunately missed the kickstarter. I desperately wanted to experience this collision of two things I love so dearly, but the only version that was available for immediate purchase was the deluxe edition. A very expensive deluxe edition that I wasn’t prepared to pay for. Then, while browsing the publishers website, I discovered that you could purchase the Chai print and play version for a reasonable $8.
The Chai Print and Play Plan
So, full disclosure, I’ve never attempted to make a print and play board game before. I do like crafty projects and the thought of creating my own version of Chai was just too tempting to pass up. I did some quick brainstorming about all the fun ways I could create the various components that make up Chai. You see, that deluxe version of the game is really well done. Great looking components and fancy tea cups. Could I compete with that? Sure, but I knew it was a slippery slope I was climbing. I was concerned that the cost of my Chai print and play version could cost more than the deluxe version. Exactly what I did not want to happen! My challenge is to use as many already-owned-supplies as I can!
Print Out the File
After I purchased the Chai print and play file from Steeped Games, which also includes the High Tea expansion, I was sent a large file that contained all the various cards and paper components for the game. I want this game to be durable so I opted to print out the items on heavy card stock. I also used a color laserjet for the printing. The advantage of using a laserjet is that the ink won’t smear like it does with an inkjet printer. I intend to use mod podge on a number of these components and the laser printing will handle this glue like a pro.
Make the Cards for Chai
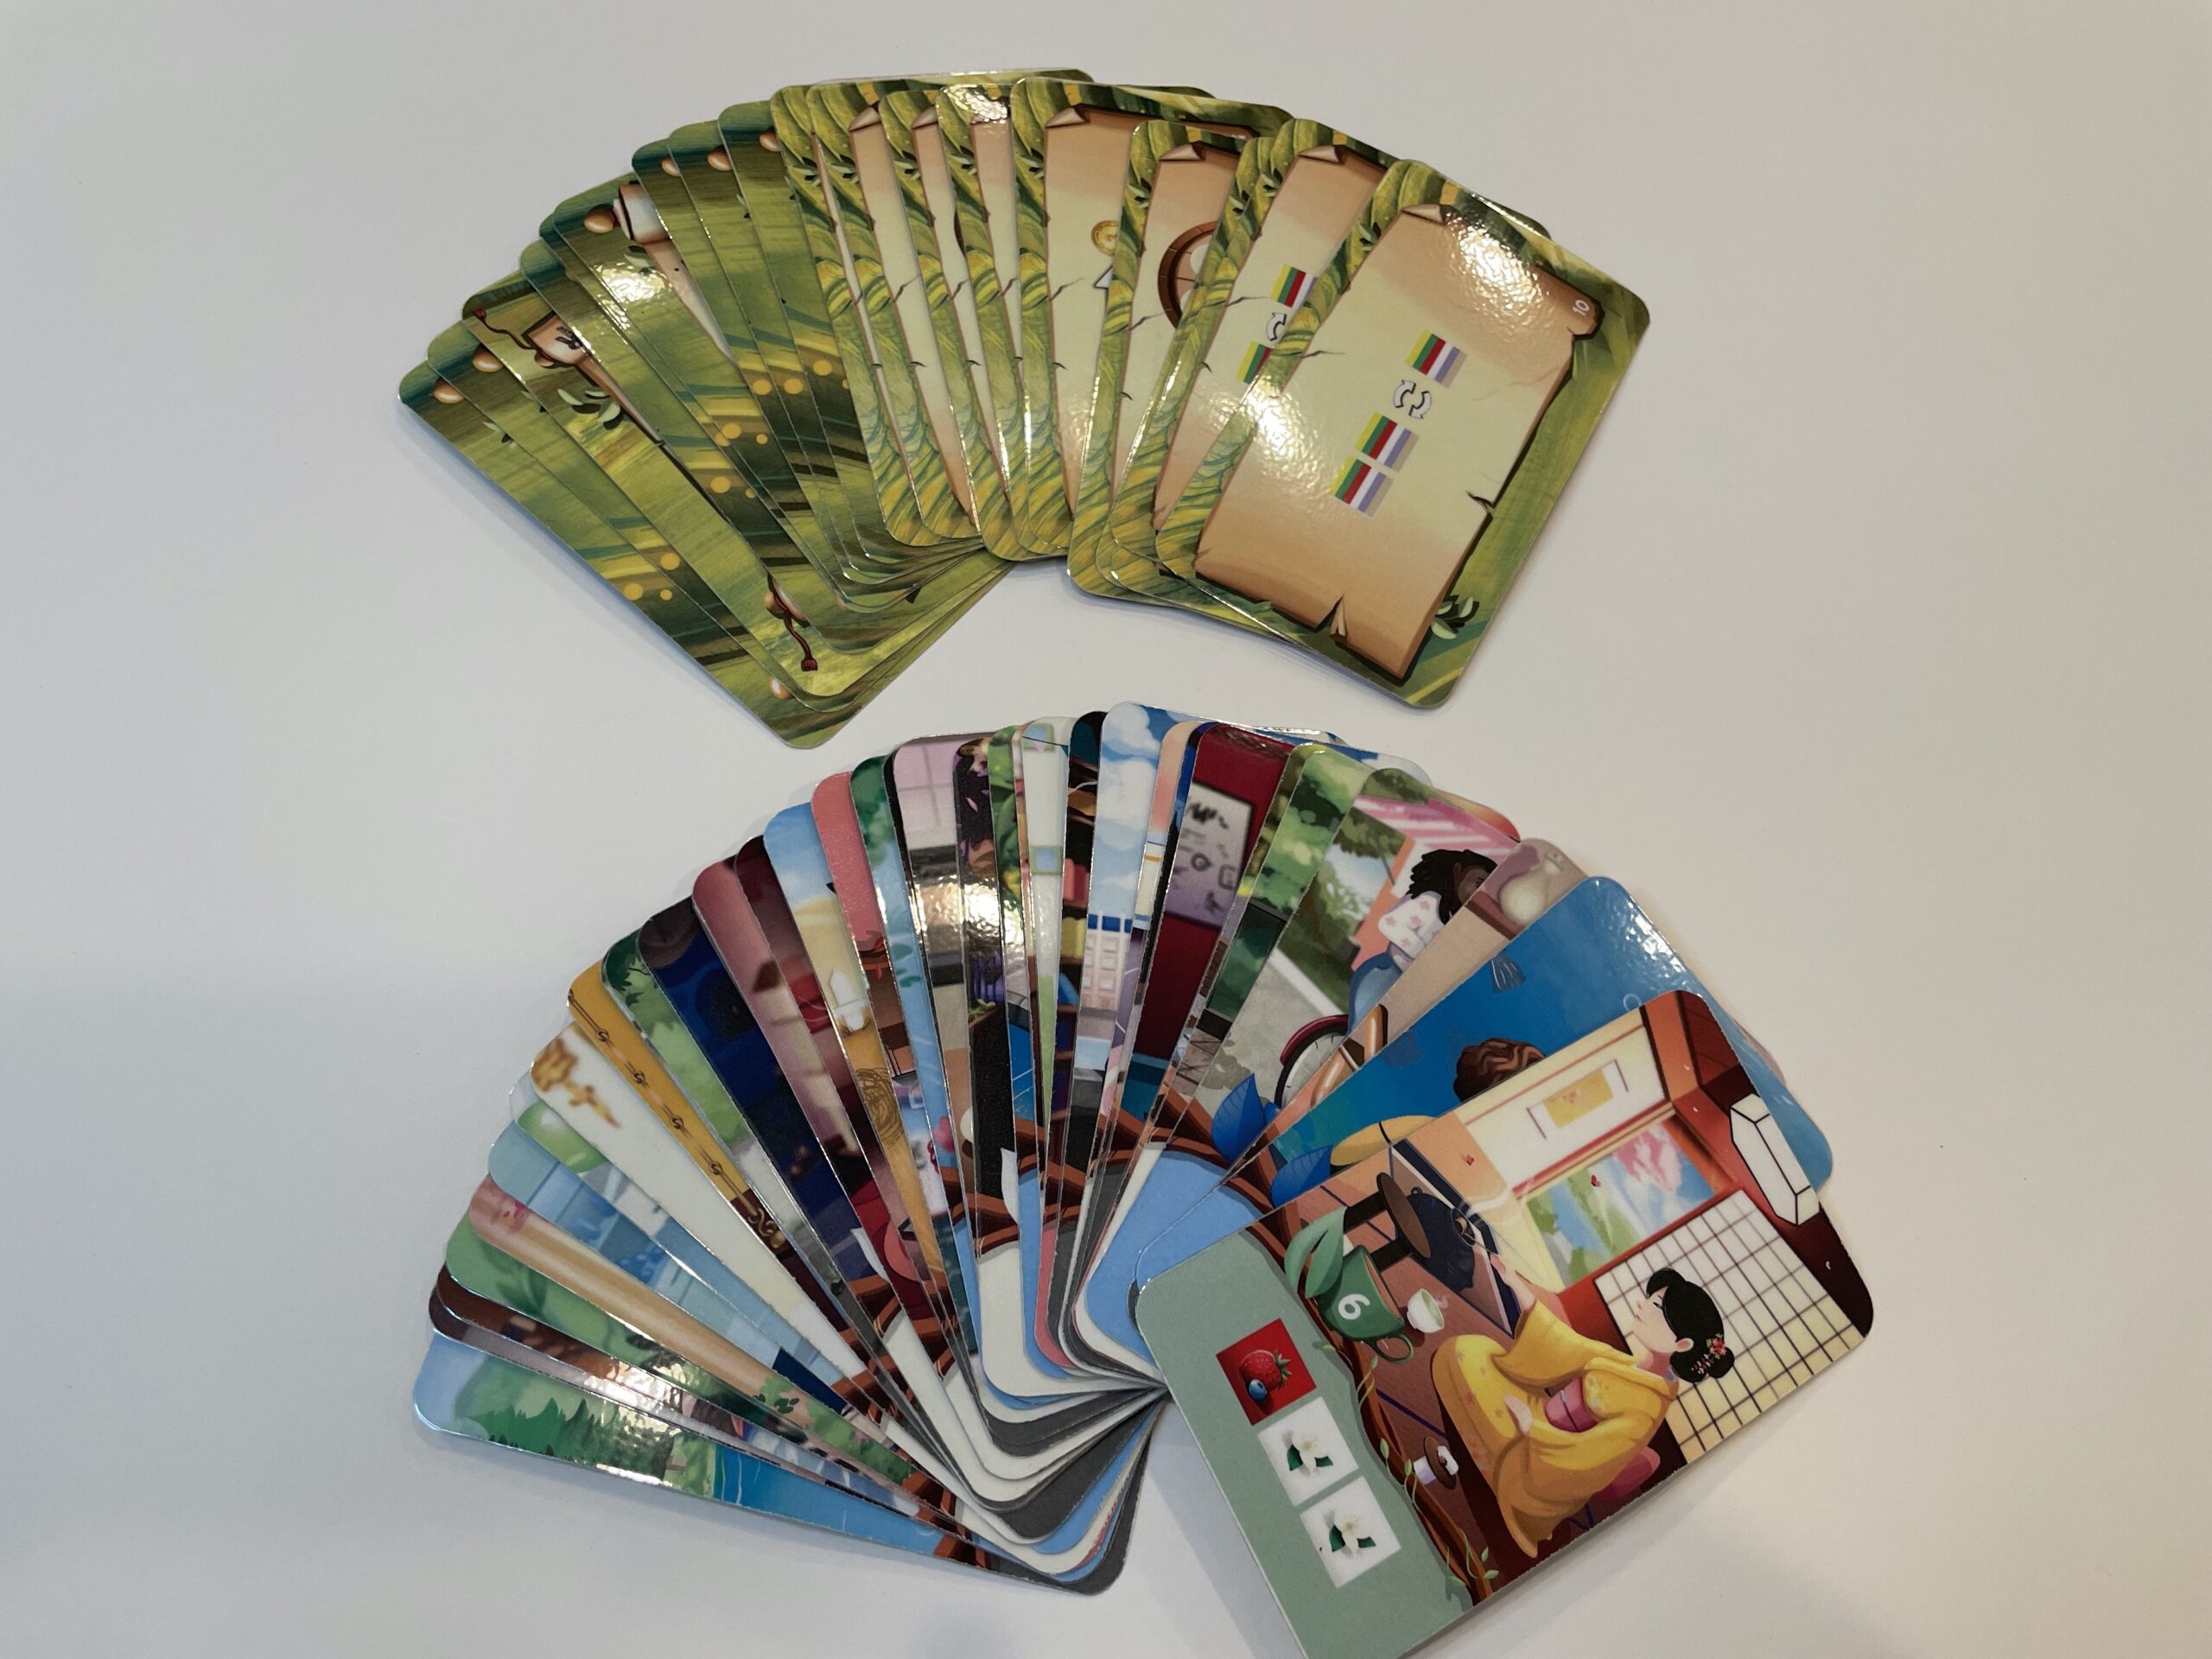
My dilemma. After I printed the fronts and the backs for all the cards, I realized that the printing on the backside of the cards extends beyond the frontside. I wasn’t sure if I should trim the cards down to the size of the front, or leave a white edge around the front to maintain the larger size of the back. I did a test run with the white edge on the front and initially I liked the result. The problem with this option is that I want to use a rounded corner paper trimmer. When I tested that out on my card, I hated the way it looked. So a decision was made: trim the cards down to match the size of the front of the cards!

Once all cards were trimmed down and their corners were rounded, I ran them all through my laminator using 3mm sheets. Lamination helps bring out the colors of the cards and it will improve their durability. Once laminated, all the cards need to be cut out again. A tedious process, but worth the time and energy.

I also used this same process to create the thermometer component. I glued the Fahrenheit side to the Celsius side and then ran the finished product through the laminator and trimmed it down to size!
That’s it for Part 1. Now that the cards are complete, we need to figure out a way to make all those money tokens!! Stay tuned.


3 thoughts on “Chai Print and Play Board Game: Part 1”
Comments are closed.