
If you haven’t been following along, Oh My Meeple is taking on our first print and play board game. Due to missing out on the kickstarter, and not wanting to pay a fortune for the deluxe version of Chai (the only option presently available), we decided to make a project out of this intriguingly themed board game.
All about the foam
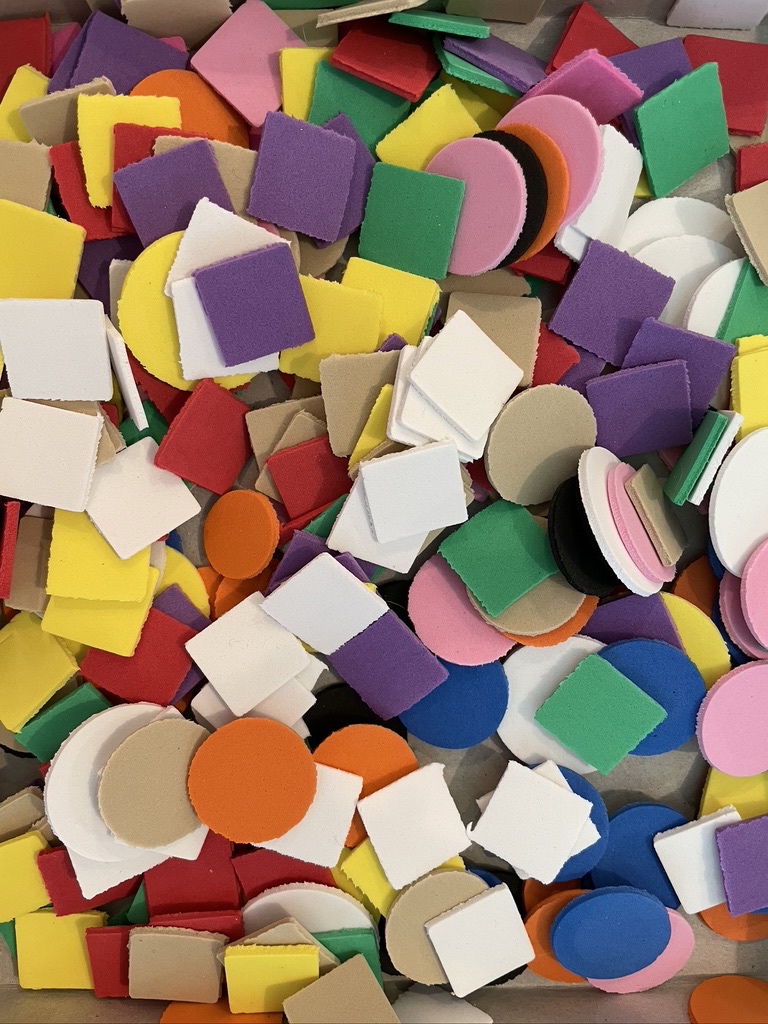
Chai the board game has a lot of parts! Lots of cardboard and acrylic bits that make this game visually pleasing to look at. One of the biggest dilemmas I had was picking a material to craft these bits out of. The initial thought was to use chipboard. I have a Cricut Air that supposedly will cut chipboard, but it sounds like this produces some mixed results. I also didn’t have any chipboard, and didn’t want to buy any either! The solution? Craft foam. I happened to have a pack of rainbow colored craft foam, similar to this option from Amazon. Cricut Air can cut craft foam too!
I used the Design Studio software that works with Cricut to create the basic templates for the different component shapes. A few different sized circles and some squares is all I needed. Then, I simply cut out the shapes on the corresponding colors of craft foam that would match the various Chai print and play board game components.
Cutting out the cardstock
Using the Cricut to cut out all of the foam was helpful, but what about all the cardstock elements? I have pages and pages of Chai components that need to be cut out before they can be glued to the foam. Fortunately, I do have a 1 inch circle punch. This allowed me to quickly punch out all the medium sized coins and the pantry tokens. For the small and large sized cricles, I had to (gulp) use scissors and cut them out by hand. It was a little time consuming, but worth it! I also cut most of the flavor tiles out by hand too. Somehow the blade on my paper cutter decided to go missing.

Assembling the Chai Print and Play Components
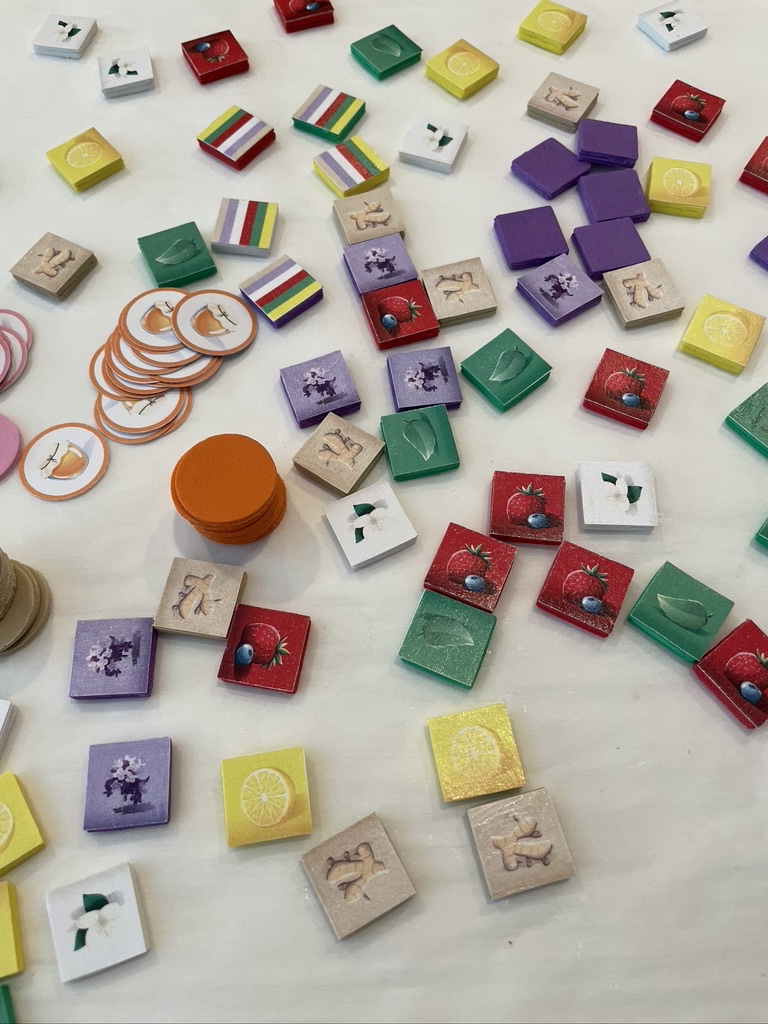
With the foam and cardstock pieces all cut out, the final step is assembly. I simply brushed the top of the foam with a decent layer of Mod Podge. Then, I placed the corresponding cardstock piece on the glue and pressed down. Finally, I added another layer of Mod Podge on top of the cardstock. Let each piece dry, flip over, and repeat with the backside of each component!
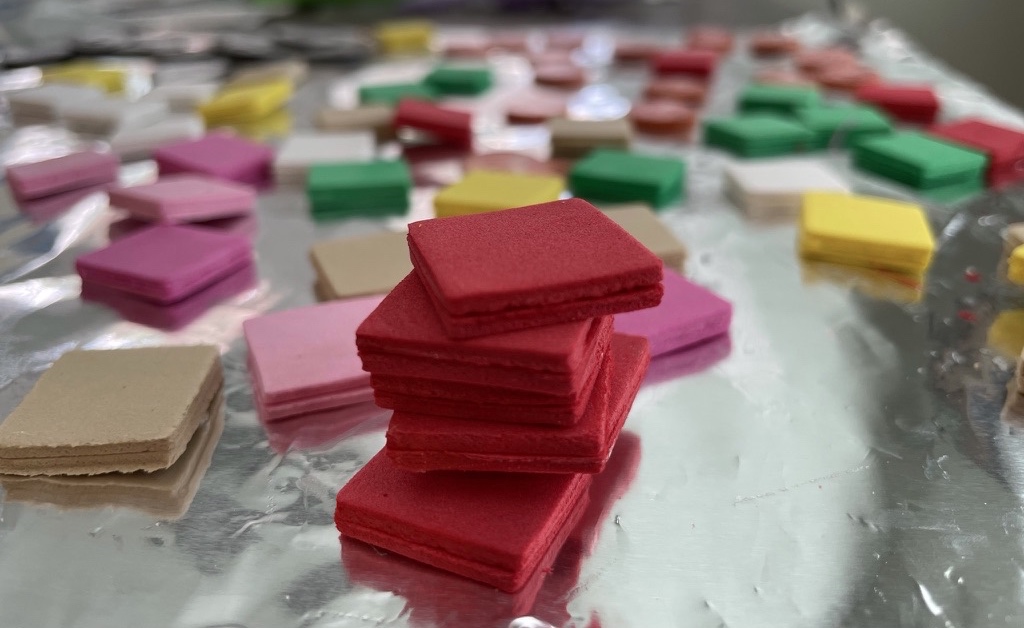
**The only variation to the assembly process was with the flavor tiles. I wanted these tiles to be thicker so they’d stand off the marketplace board a bit, much like the actual game components do. In order to achieve this effect, I glued two pieces of the foam squares together, and then glued the corresponding cardstock pieces to each side. If I were to make these tiles a second time, I would experiment with gluing 3 layers of foam together instead of just 2. It would definitely give them some added dimension.
Follow along with the rest of the series:
If you missed the part 1 of this series, you can check it out here. I covered the process of making the actual cards for the game.

3 thoughts on “Chai Print and Play Board Game: Part 2”
Comments are closed.