Our Chai print and play board game adventure continues! Today we will focus on the various boards that are used in Chai. There’s a marketplace, pantry, money, and an additional 5 player boards that need to be crafted in order to play the game.
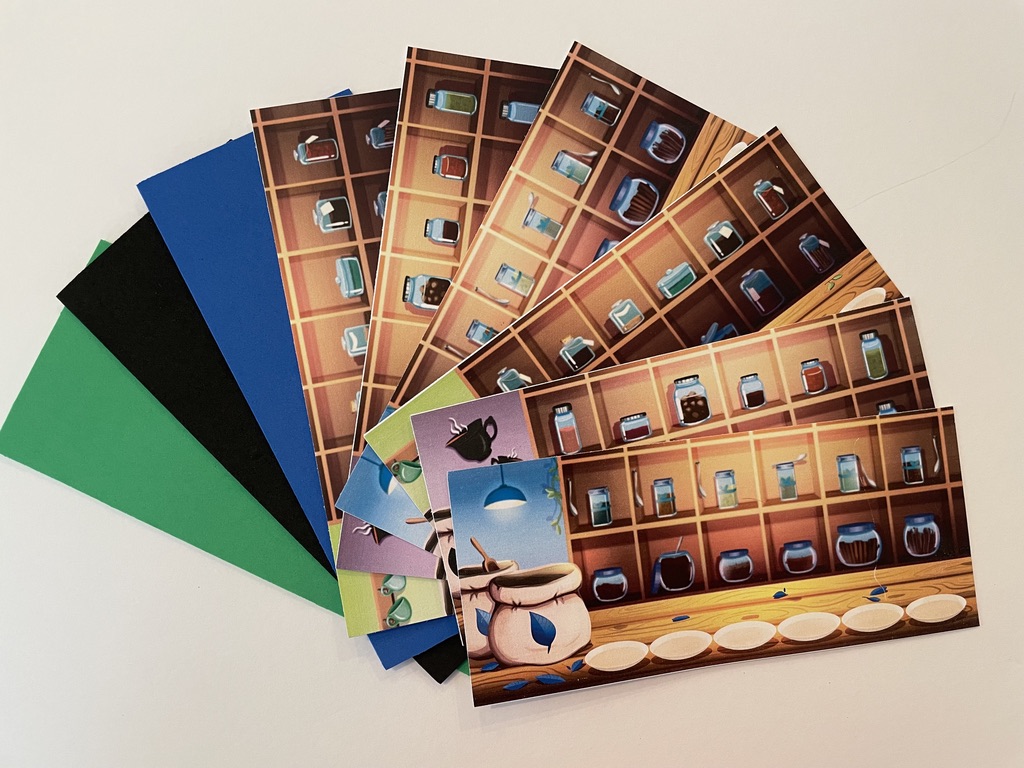
Player, Pantry, and Money Boards
There are five color-coded rectangular player boards known as Tea Houses. These were fairly easy to create. Simply cut on the player boards from the cardstock. I’m choosing to make our player boards double sided, so 2 player boards of each color need to be cut out from the cardstock. Then, cut out a piece of coordinating foam of the same size. Coat the foam with a layer of Mod Podge and align the cardstock on top and smooth down. Coat the cardstock with another layer of Mod Podge. Let dry. Flip over and repeat!
Use this same process to create both the pantry and money boards!
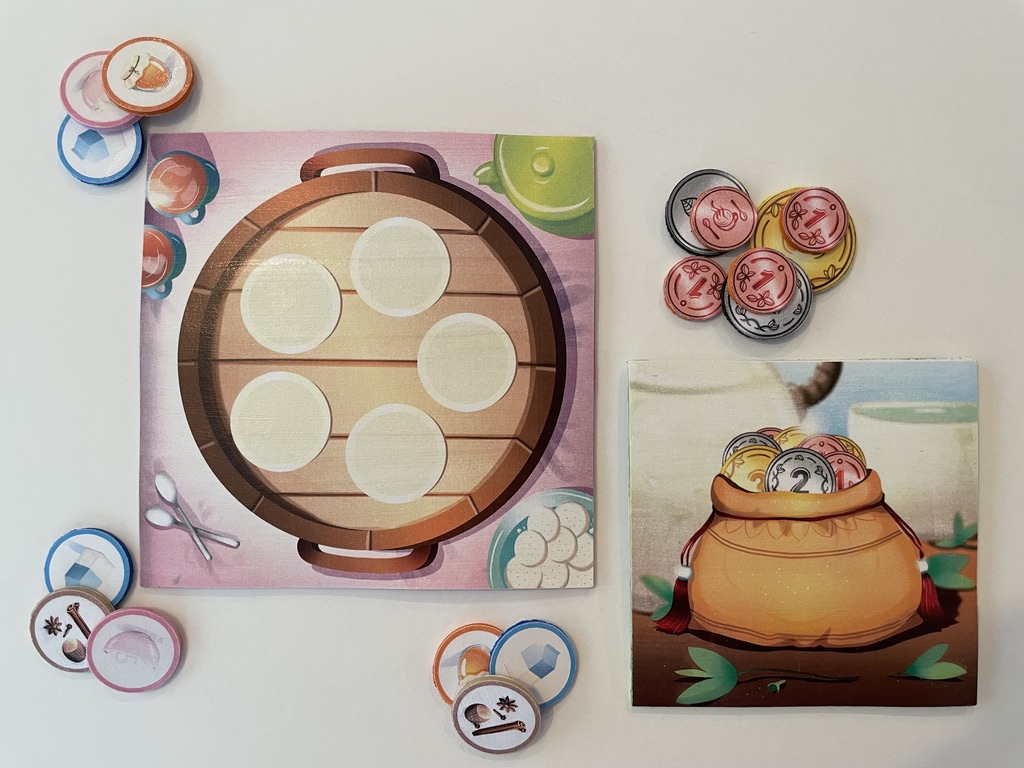
Creating the Marketplace Board
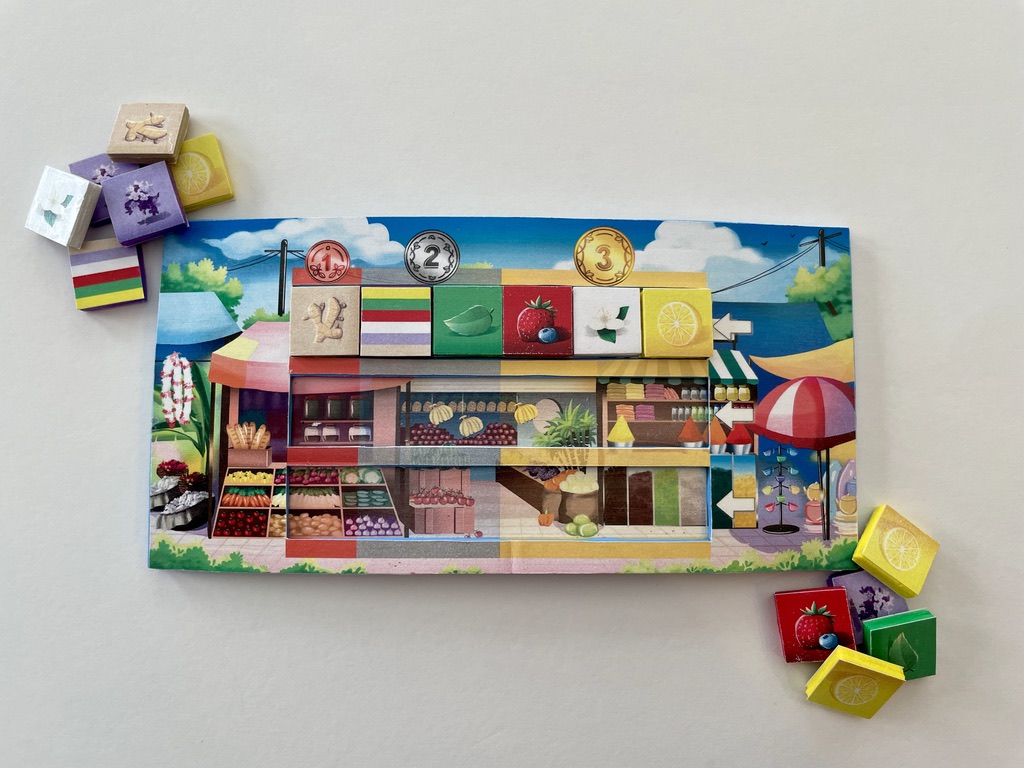
Creating the marketplace board for Chai is by far the hardest of the components to get right. The actual board game uses a double-layer board for the market place, and I wanted our Chai print and play version to have something equivalent. Why? Because I love double-layer boards. It’s so much easier to keep random game bits in place when you use them!
Marketplace Board – Top Layer
The measuring and cutting for the marketplace boards was beyond what I wanted to attempt with my Cricut cutting machine. Instead, I simply placed the cardstock on top of the coordinating foam and, with the help of a thick ruler and a box cutter, I carefully cut out the pieces for the marketplace board. After the top-layer pieces were cut out, I used the same Mod Podge process that I used for the player boards.
Marketplace Board – Bottom Layer
For the bottom layer of the board, I cut out the appropriate sized piece of foam, and the corresponding marketplace piece from the cardstock. I also needed to cut out the backside piece for the marketplace. First, I used Mod Podge to attach the bottom piece of the cardstock to the foam. Let dry. Flip over and repeat the process to add the backside to the marketplace board. When both the top layer and bottom layer are dry, spread Mod Podge on the bottom of the top layer and press it onto the top of the bottom layer. I’ll be honest. That sounds complicated, but it’s really not.
Tips
Sometimes when using Mod Podge on the larger components (like these boards) they curl up a bit. I’ve had the most success letting them dry completely before attempting to straighten them out. Often, they’ll just straighten as they dry!
The marketplace board turned out to be fairly inflexible once it was completed, and it still had a bit of a curve in it. I think if I were to create this particular component a second time, I would forgo adding the backside piece of cardstock. This would lessen the Mod Podge and make it a bit more flexible!
Missed Any of our Chai print and play board game series? Check out the following posts!