I started the process of making the cards for our Verdant PNP game before we decided to move last year. With my attention focused on moving, it took nearly 6 months to finish the cards. I expected this to be one of the easier parts of making the game, but that proved not to be the case.
Alignment Issues
I’ve never seen this happen with a PNP game, and perhaps I’ve been lucky, but I couldn’t get the duplexing to work correctly for the cards. The fronts simply did not align with the backsides of the cards. It didn’t matter what I did, or what printer I used, they simply didn’t align.
Anyone else attempt to create the Verdant PNP cards and have better luck than we did?
How we created our cards for our Verdant PNP game
I had two choices. I could either print the cards without a back, or I could print the fronts and backs on two different pages. The latter is what I did. It meant twice as much work, and I had to use twice the amount of cardstock.
Once everything was printed, I used a paper cuter to cut apart all of the cards. I used a basic glue stick to attach the fronts to the backs. This was a bit painful because I needed to make sure the correct backs were attached to their corresponding fronts. At this point I have no idea how to play this board game, and no clue what any of the cards mean.
After the cards were attached and dry, I used a corner punch to round out the square points on all of the cards. This is not a necessary step, but I think it makes the cards look and feel much better.
Finishing the Verdant PNP cards
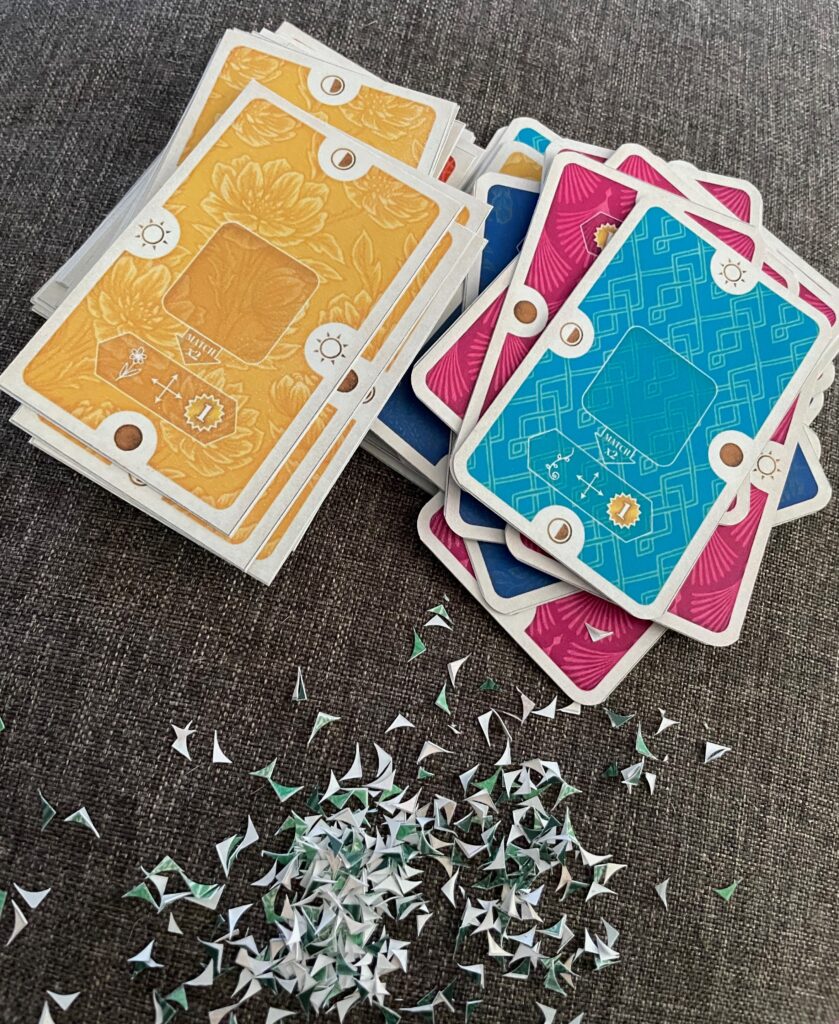
To make sure the cards for our game would be durable, I placed them in 3mm laminating sheets and ran them all through the laminator. And then I had to cut all of the cards back out again. I used scissors this time because the paper cutter wouldn’t have been sharp enough to cut the plastic sheets.
In hindsight, I wonder if it would have made more sense to skip the laminating and place the cards into sleeves instead.
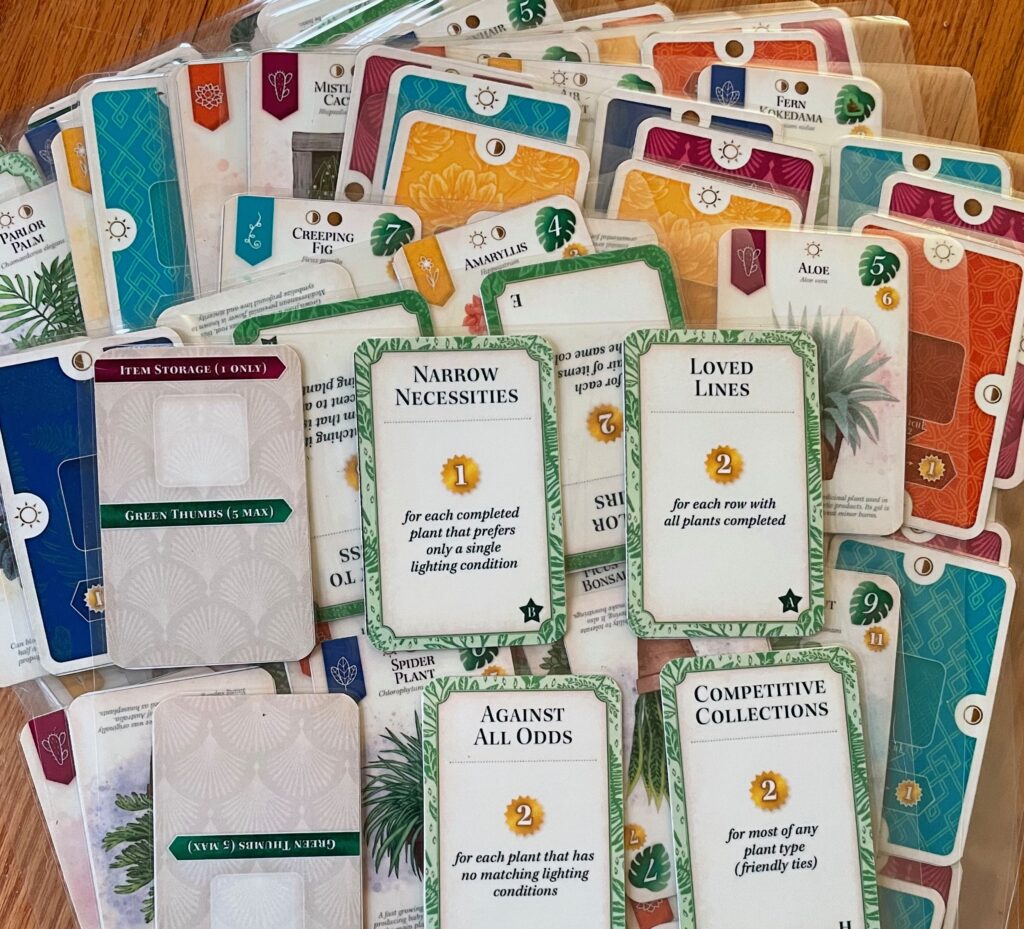
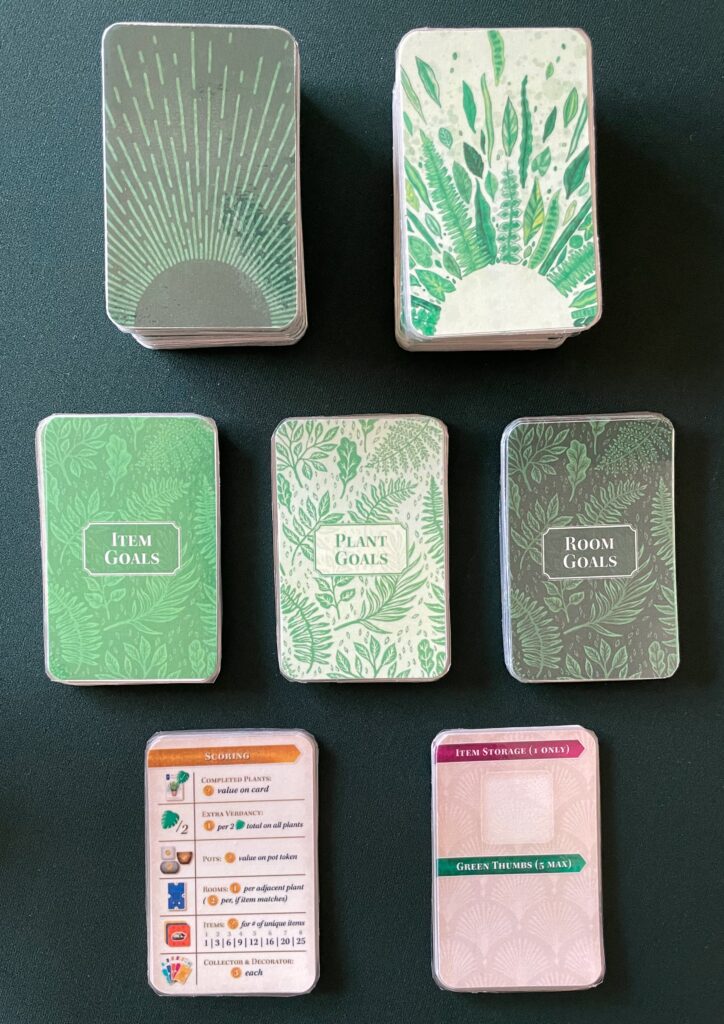
Overall, I’m happy with our cards for Verdant. Thanks to two layers of cardstock and lamination, the cards are all thick and easy to shuffle. They’re also waterproof now as a random upside! Here’s a peek at the finished product!

Next, we will tackle all the remaining tokens that makeup Verdant!
Curious about our colorful Verdancy tokens? You can read about them here!